One of the most common questions I get from quilters is “How do I get my blocks to finish the proper size?” Most of the time, quilters are using their quarter inch presser foot, but for some reason, the piecing is not accurate. I’ve put together a series of photos to illustrate what can go wrong when piecing and how to solve the problem.
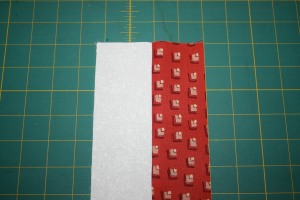
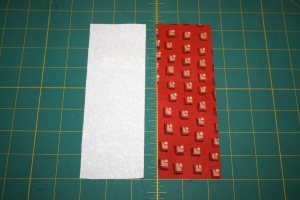
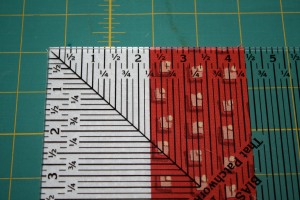
I've sewn both strips together using my quarter inch presser foot. The width of these two pieces should measure 4.5 inches.
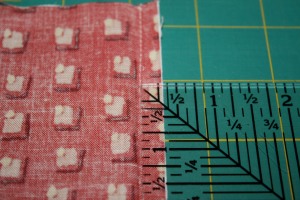
After measuring the seam allowance, I can see that it is just slightly more than a quarter inch. Could that really make a difference?
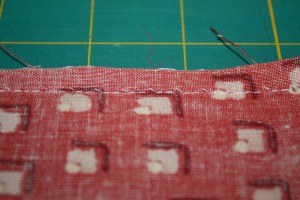
Since this seam needs to be 'unsewn' or frogged (rip it, rip it) I will pick every third stitch on one side of the piecing.
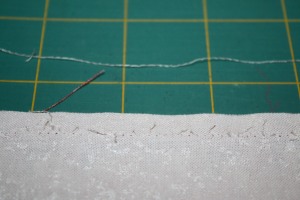
The thread on the other side of the piecing should pull away in one long thread, allowing me to separate my fabrics.
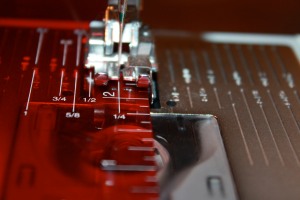
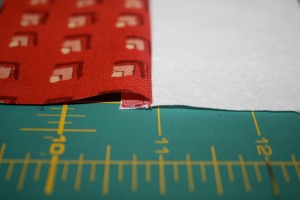
When I measure the seam allowance, at first glance, it looks as though it is accurate. But look closely at the right side of the ruler. See the tiny, tiny gap between ruler and metal guide. That is the excess. The needle position needs to be moved slightly to the right, closing up that wee gap.
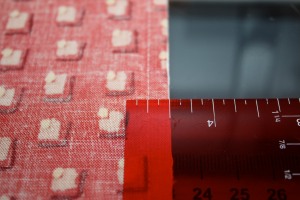
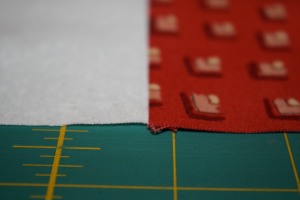
Once I've moved the needle position just a thread to the right, I sew my seam again. See how it is just one thread under a quarter inch? This is called a scant quarter inch and it is ideal for quilting.
The needle position of most sewing machines is adjustable. Dig out your manual if you are not sure how to move the needle position. Move the needle one fraction at a time, and use the hand crank to slowly lower your needle to the down position. Make sure the needle does not impact with your presser foot, as this can be very dangerous when sewing. Keep your ruler handy to measure the distance between the needle and the guide.
** EDIT ** This comment was left regarding moving your sewing machine needle. Anne has shared an excellent point that I would like to share with all of you.
“Your photography does a great job of demonstrating what you are explaining. Thanks for taking the time to do it so well. I usually piece with a straight stitch plate, so folks should be careful when moving their needle over. Test it by hand first to see that you have the clearance otherwise use the zig zag plate. I can’t tell you how many times I’ve forgotten about having the SS plate on while in the throes of an exciting creative brainstorm. I’ll switch to a decorative stitch and then BAM! The needle explodes into pieces while I have a heart attack hoping my machine is ok!” Thanks very much Anne!
Now for those of you who were asking about more intricate seam nesting, Rachel over PS.IQuilt has done a tutorial for Half Square Triangles, plus she shows a neat little trick to reduce the bulk in a pinwheel block. Head on over to her blog to see how she does it.
Quilty Hugs,
P.S. We are now the Official Canadian Retailer of Christopher Nejman’s brand new CD Book CELEBRITY BAGS.
Take advantage of our pre-order event before we start carrying stock later this month and receive free shipping anywhere in Canada.
Bradie
Don’t forget to visit Fabric Heaven!
